Versatile And Temporary Flooring Solution For Renters
As a renter you may feel very limited when it comes to making permanent changes to your home. You may have been putting up with the bright coloured tiles on your balcony because you thought there was no solution. However, there are creative and temporary flooring solutions available to transform your home without compromising your lease agreement. The pedestal tile system is an excellent way to refresh your space and fortunately these tiles are easy to apply and are renter friendly, allowing you to achieve a brand-new look without damaging any existing surfaces.
The DTA Boss Adjustable Pedestal System is an excellent way to refresh your space and fortunately these tiles are easy to apply and are renter friendly, allowing you to achieve a brand-new look without damaging any existing surfaces.
We spoke to a Beaumont Tiles expert on the benefits of pedestal tiles and the process for installing these.
What are Pedestal Tiles?
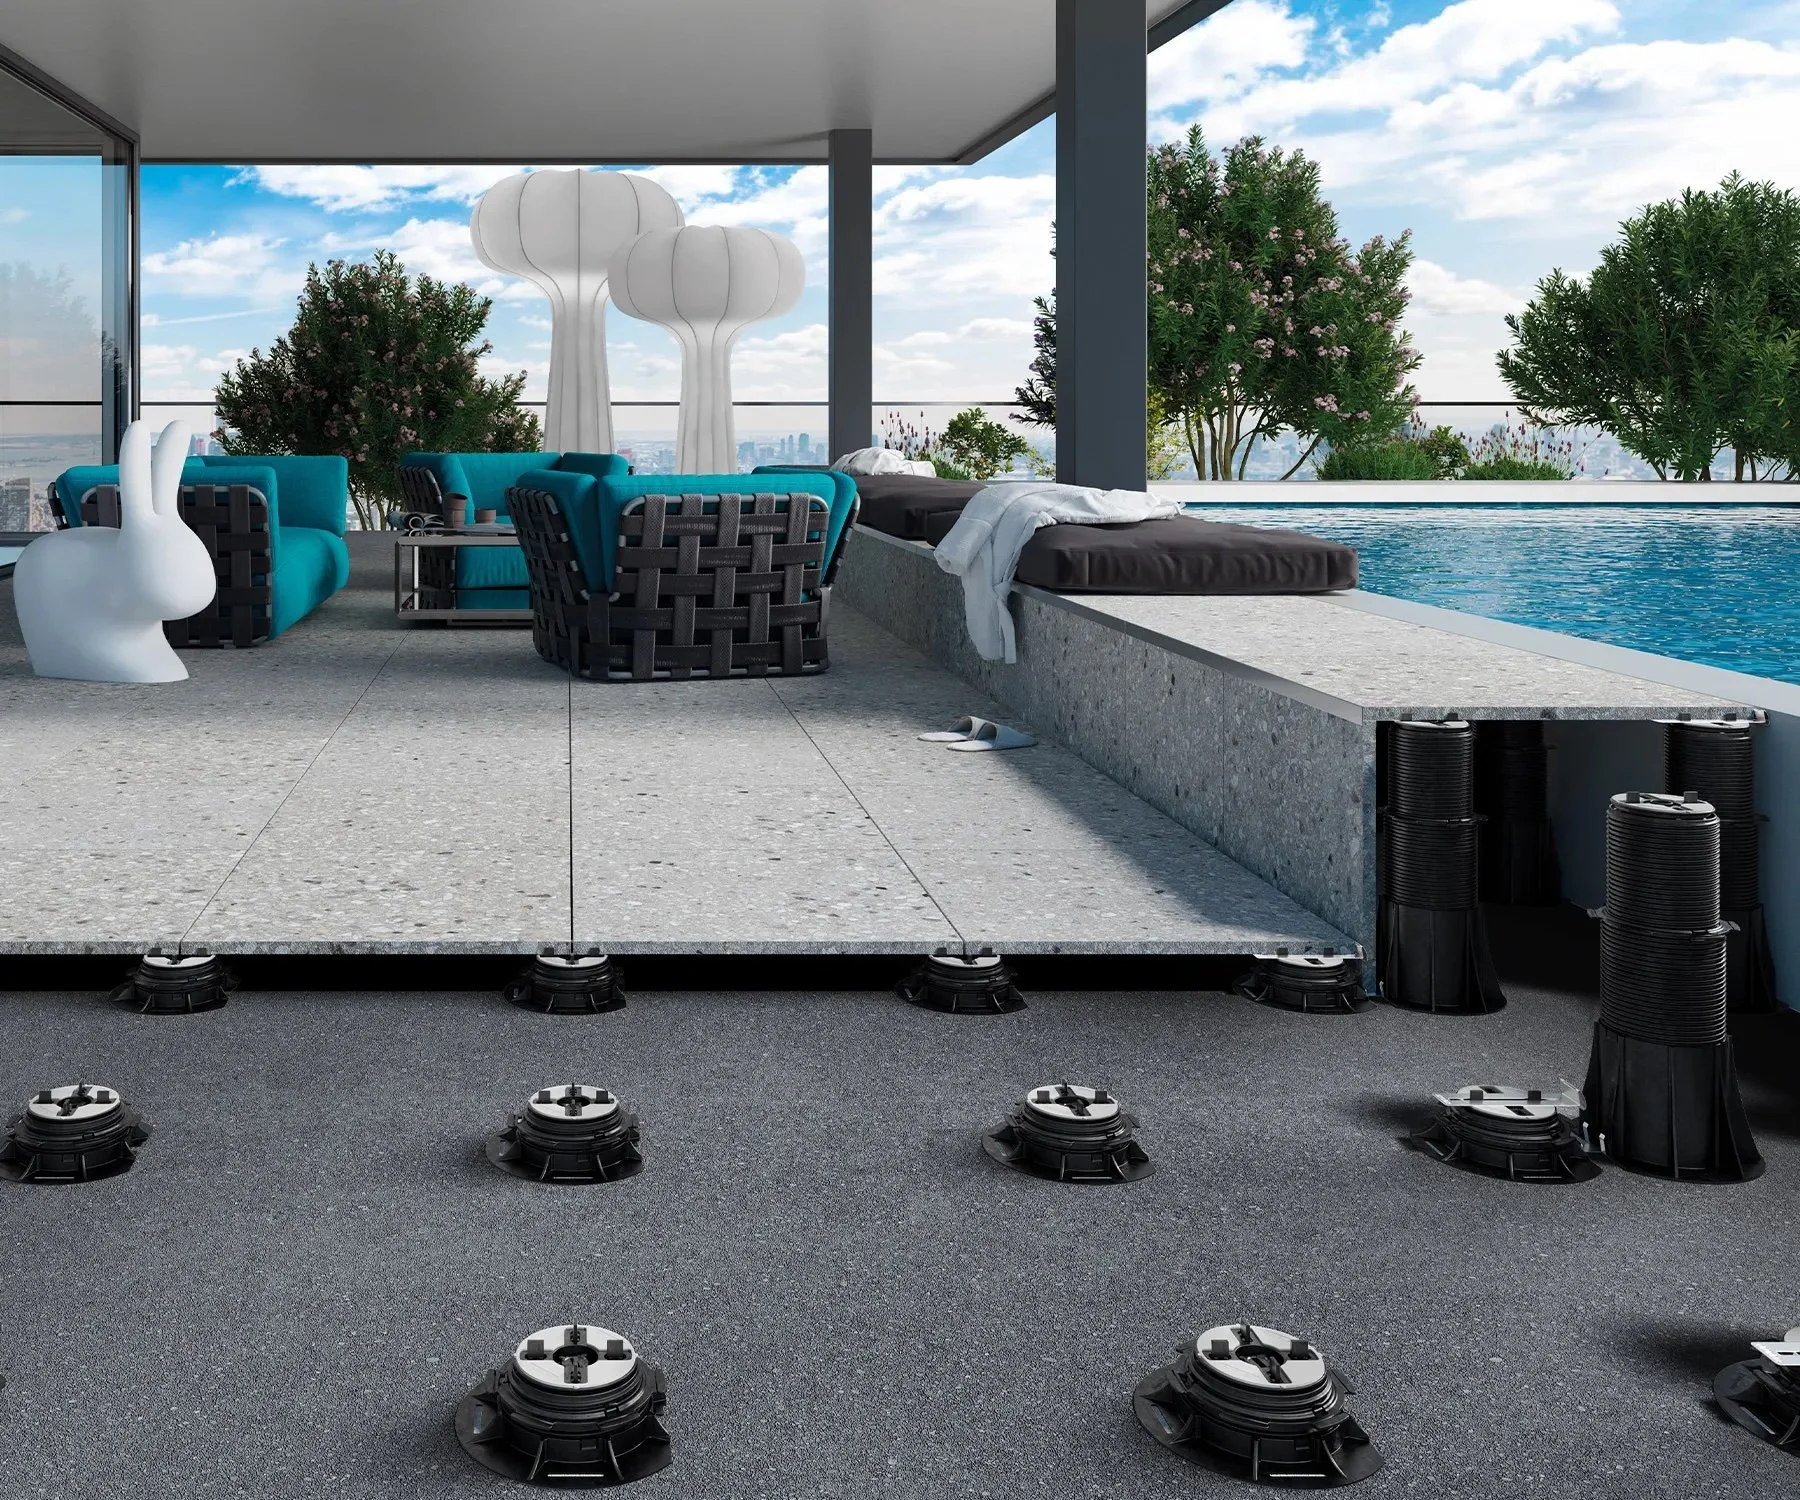
A pedestal tile system is a flooring solution that raises tiles or pavers off the existing surface using adjustable pedestals. The pedestals can be placed at regular intervals and can be adjusted in height to create a level surface.
What are the benefits of Pedestal Tiles?
Easy installation: Pedestal systems are relatively easy to install, making them a popular tiling choice for DIY enthusiasts. Unlike traditional flooring materials such as hardwood or ceramic tiles which require a lot of preparation and work, pedestal tiles do not require adhesives, nails or glue. Instead, they utilise a unique system of interlocking, which eliminates the need for extensive and time-consuming preparatory work.
Improved drainage and protection: The open design of the pedestal tile system allows for excellent water drainage and provides a protective barrier for the existing flooring. Rainwater or any spillage can flow freely between the tiles or pavers and into the underlying surface, reducing the risk of water pooling and potential damage. This is particularly beneficial for renters who are concerned about preserving the condition of the original flooring.
Enhanced aesthetics: The elevated nature of the tiles creates a visually appealing and modern look. The clean lines and seamless appearance of the flooring system can transform a space. Tiles that can be used with the pedestals come in a wide range of styles and designs allowing you to get rid of the bright coloured balcony tiles you’d been putting up with and customise your space according to your own personal taste and desired aesthetic.
Quick and reversible: One of the significant advantages of pedestal tile system for renters is their ability to be installed and removed quickly and without causing damage. Should you decide to move or change your flooring in the future, pedestals and tiles can be easily lifted and taken with you, leaving no residue or marks behind. This flexibility allows you to experiment with different flooring styles and switch up your design without worrying about the long-term commitment or financial investment of permanent flooring solutions.
How do you install Pedestal Tiles?
There are a few different types of pedestal supports, for example height adjustable, self-leveling, or low height, and each has a slightly different way of installing. Essentially, installing a pedestal tile system is very straightforward and involves five simple steps:
Assess the area: To start you must assess the area. Make sure you measure the total area to be paved to determine the number of paver tiles required and calculate the height of the pedestal to be installed. At this stage it’s also important to use a sight or laser line to mark the intersections of the corners of each paver to be laid.
Prepare the surface: Make sure that the substrate is clean, level and free of any debris. Fix any issues with the underlying surface, such as cracks or any uneven parts, before proceeding.
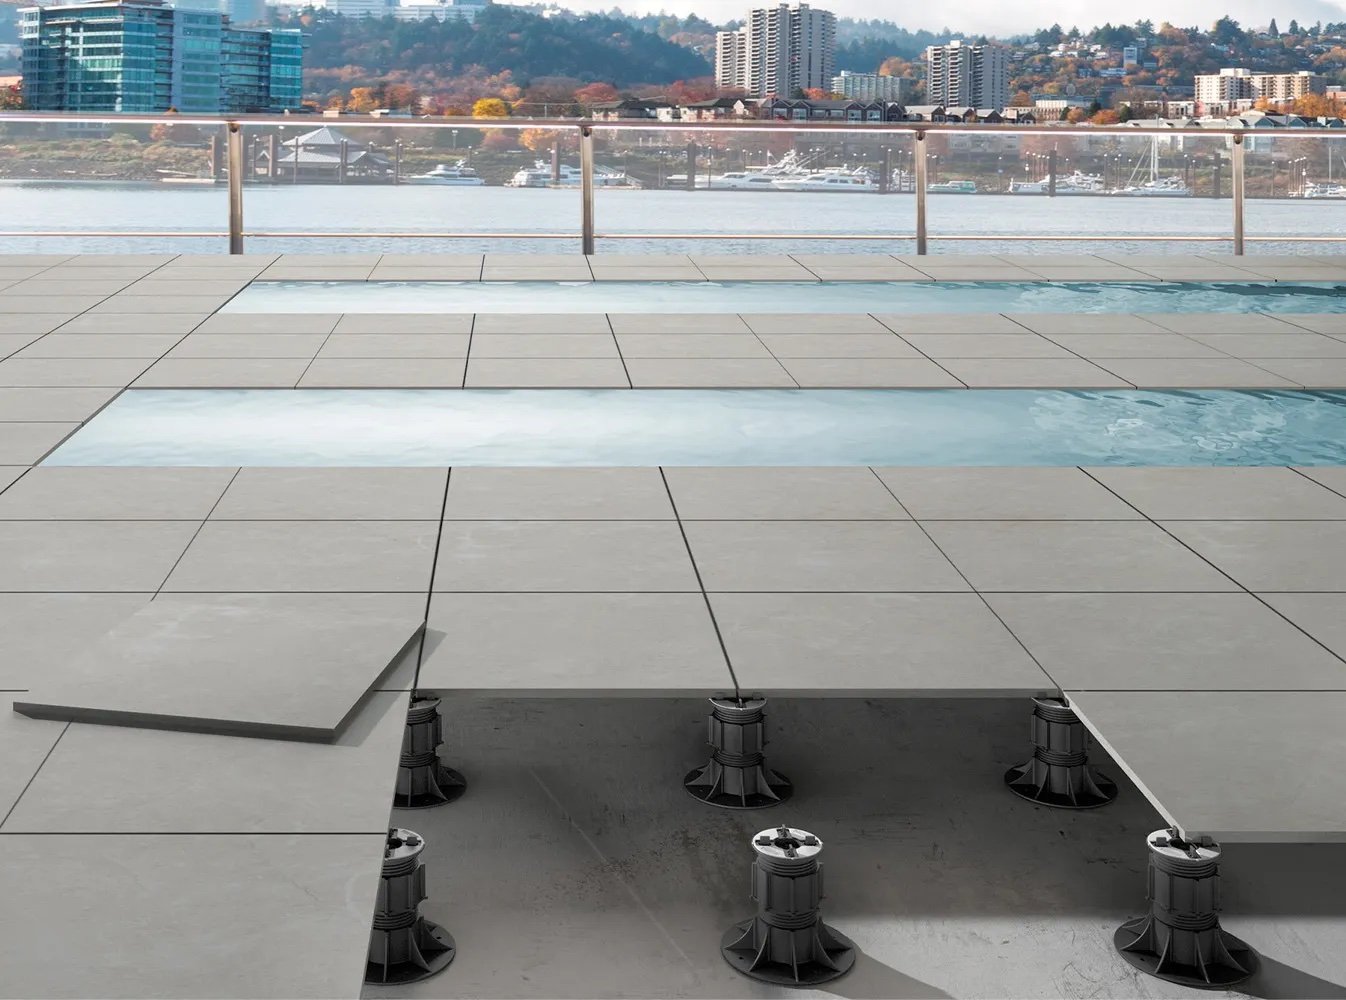
Placing the pedestals: Begin by placing the pedestals where edges and corners are to be supported. If necessary, saw along marked score lines on the bottom of the unit so that they may be positioned along wall edges or in corners.
Install the tiles or pavers: Lay the tiles or pavers onto the pedestals, starting from one corner and working your way across. Ensure that each tile is securely placed and level with adjacent tiles, then use the adjustment key tool to tighten/lock each one in correct position.
Finishing touches: Once all the tiles are in place, inspect the surface for any adjustments or leveling requirements. Make any necessary adjustments to ensure a seamless and level finish.
For video instructions on how to install the pedestal tiles, visit the Beaumont Tiles website here.
As a renter you can still enjoy the benefits of tile renovations without making permanent changes to your space. A temporary option like the pedestal tile system allows you to express your personal style and enhance the appearance of your home. These tiles are easy to install and remove, making them the perfect tile for transforming your space while still adhering to your lease agreement.
For more on the pedestal tile system and transforming your outdoor space check out this guide from expert and The Garden Hustle host Dave Franklin: